Pages

Bottle Cap Gold

March 18, 2016


My little leprechauns were in need of some gold yesterday, so we came up with these simple and homemade coins that were just right for hiding at the end of the rainbow!

Supplies
Plastic bottle caps, any size
Air dry clay, we used Model Magic
Paint
Pencil with eraser or 
Small piece of cardboard and scissors
Paint, acrylic works best
Paint brush

Directions
1) Wash and dry bottle caps.
2) Press clay inside bottle cap. Smooth top.
3) If you like, press a design into the clay with pencil eraser.  Or cut a small shape out of cardboard and press into clay.
4) Let coins dry fully.
5) Add coat of paint.  More than one coat may be necessary.
6) Dry completely before playing with.

Milk Carton Leprechaun House

March 14, 2016


Supplies
Milk cartons
Glue
White paint
Paint brush
Construction paper
Scissors

Directions
1) Wash and dry milk cartons.
2) Glue shut the top of milk cartons.
3) Paint the milk cartons white. You might need to more than one coat.
4) Let dry.
5) Cut out doors, windows (whatever you think your leprechaun would like!) from construction paper. Decorate!

Quick Egg Carton Geodes

March 13, 2016


All the wow factor with none of the wait!

Materials
Epsom salt
Sandwich bags
Liquid food coloring
Egg carton
Scissors
Glue
Paint brush
Spoon
Tape
*Optional* glossy Modge Podge or similar top coat

Directions
1)  Pour Epsom salt into sandwich bags.  You will want a bag for each color crystal you want to make.  We added about 1/4 to 1/2 cup of salt to each bag.
2) Add a few drops of liquid food coloring into each bag.  Seal and shake till salt is evenly colored.  Add more food coloring if more saturated color is desired.
3) Cut apart egg carton. Separating it into individual cups. You will have 12 cups from the top of carton and 12 from the bottom.
3) Pair up a cup that came from the top and one the came from the bottom of the carton. You will have 12 whole rocks.
3) If necessary, trim edges of each half so the pieces fit together flush.
3) Generously coat the inside of each cup with glue.
4) Add a scoop of Epsom salt to both sides.
5) Tape together the top and bottom of the rock and shake.
6) Open, dump out excess and be amazed!
7) *Optional* after geodes dry, add coat of Modge Podge or similar topcoat to the Epsom salt to increase their shine.


Greek Yogurt Chocolate Chip Muffins

January 18, 2015


I had a big tub of greek yogurt that needed using up, so I *had* to make some chocolate chip muffins.  This recipe from Julia's Album to the rescue!

Watercolor Resist Snowflakes

January 7, 2015


There is a little magic to watercolor resist paintings.  Hidden pictures revealed as soon as the paint hits the page!
Materials
White Paper (watercolor or other heavy weight paper works best)
White crayon or oil pastel
Blue watercolor paint
Water
Paint brush

1) Place paper on flat well covered surface.
2) Draw snowflakes on paper with white crayon.
3) Paint over the snowflake with watercolors.
4) Let dry.

Cold Shaving Cream Snow

January 5, 2015


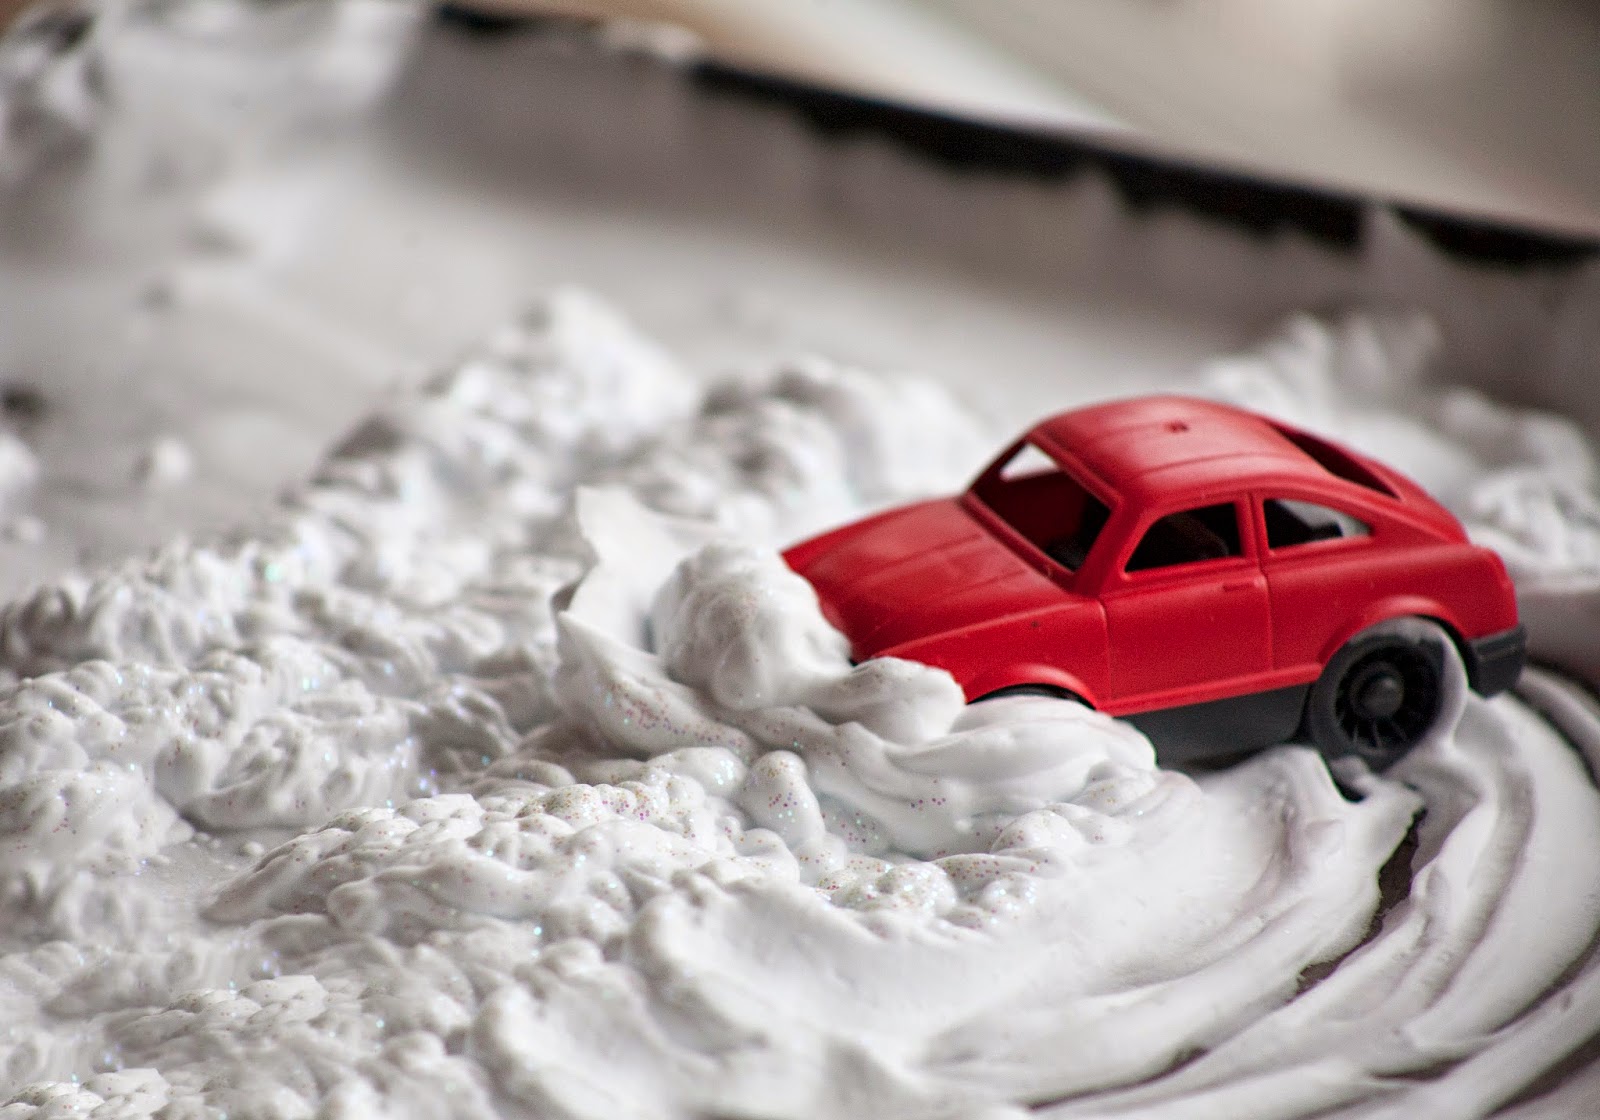
Chilling the shaving cream in the freezer for a few minutes before sending the cars slip sliding around adds a little extra something to this snowy sensory play.
Materials
Foam shaving cream
Glitter
Cars
Cookie Sheet
Room in your freezer for a cookie sheet

1)   Spray shaving cream onto cookie sheet and sprinkle with glitter.
2)   Place cookie sheet in freezer for 3-5 minutes.   If it stays in too long the texture of the shaving cream will change.  My kids prefer their snow cool but still fluffy so I don’t leave it in the freezer for long.
3)   Remove cookie sheet and place well covered surface.
4)   Let the driving begin!

Mad Scientist's Lab

October 27, 2014


Next to treat sampling, Mad Scientist's Lab is the most requested Halloween activity in our house this year.  Its a free for all of mixing, pouring, cackling and scheming guaranteed to keep the little ones busy.  
Materials
Jars, cups, bottles of various shapes and sizes 
Liquid  (we used water, seltzer and vinegar)
Food Coloring
Mix-ins (we used baking soda, peppercorns, rosemary, plastic bugs and gems)
Spoons and/or droppers

1) Protect your play space.  I covered my kitchen counter and floor with layers of newspaper and kept paper towel handy.
2) Fill some of the vessels with liquid.  Add food coloring.  Leave some empty so your scientists can pour potions into them. 
3) Set out bowls of mix-ins.  My kids prefer for me to introduce mix-ins a few a time, so I set out new bowls as they play.
4) Let the madness begin!

Eraser Painting

June 15, 2013


Materials
Pencil with eraser
Paper
Paint

You don't need a lot of paint for this one, just a quarter size dollap on a plate will do.  Show your little one how to dunk the eraser into the paint and down onto the paper.  They might be interested in making dots, lines or flipping the pencil the other way around and moving the paint around with the pencil tip.


Ziplock Finger Painting

May 1, 2013

We have been sick a lot in the last few weeks and this mess free take on finger painting has been one of our favorite arty activities!

Materials
large ziplock
tempera paint
tape

Tape three sides of a large ziplock onto a smooth surface, leaving the opening untaped. Any smooth surface will work, though we love using a window.  The light passing through adds a unique element as the paint moves between being  opaque and transparent.  Add tempera paint to the ziplock.  I recommend using two or more colors, so your kiddo can watch the colors swirl and mix.  After paint is added, seal the ziplock and tape down. Squish and smoosh away!  The bags can be saved and used again!

Kid Made Bird Piñata

April 30, 2013


Had to share the piñata that my three year old insisted we make for mom's birthday.  "It isn't a party if there isn't a piñata," he told me the night before!  One box, a crayon drawing and a few handfuls of crushed tissue paper later we were party ready.